cohabitation – more is more.

I mentioned in an earlier post that over the summer I moved into an apartment with a boyfriend for the first time. From the moment we signed the lease I was obsessively thinking about what our shared home would look like and how our different collections of belongings would come together. I am a collector by nature and Jared is the same way. I think collections are great and important and the very thing that make a home interesting and unique. That being said, two inherent collectors of things in 675 sq. ft is a design challenge to say the least.

Compounded on top of the so-many-things issue was the fact that our apartment had so much intrinsic character to contend with. The building was constructed in 1910 and was originally a hotel. The molding throughout the apartment is large and ornate. The windowsills are a full foot deep. I would say that my personal taste has leaned toward the more contemporary for quite some time. In such an ornate and historic space a modern, minimalist aesthetic just didn’t make sense.

I’ve spent the past four months trying (with much assistance from Jared) to piece together our belongings in a way that felt true to both of us. I’ve essentially abandoned any attempts at achieving a specific design style in favor of something that feels more eclectic and more like a reflection of our tastes and our stories. We had another couple over for the first time in July after settling in a bit. Both guests remarked that our apartment felt so much like both of us and I’ve realized that this is the real mark of success in building a home. It’s still (and always?) a work in progress but I’m happy to say that we are cultivating an aesthetic of our own which has been infinitely more fun and rewarding than effectively mimicking mid-century modern, or Scandinavian minimalism or industrial loft-style or whatever. 🙂

Here are some images of our apartment.
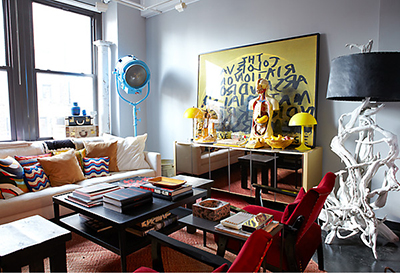
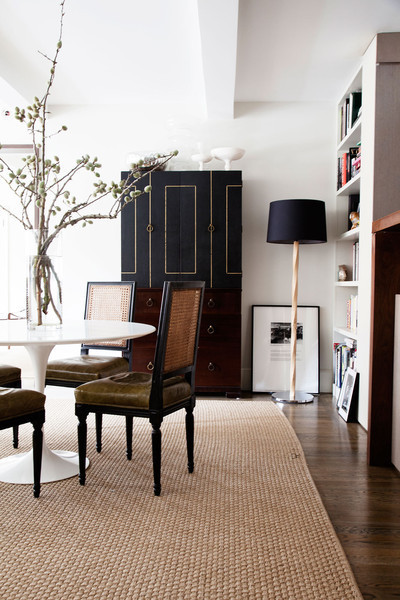
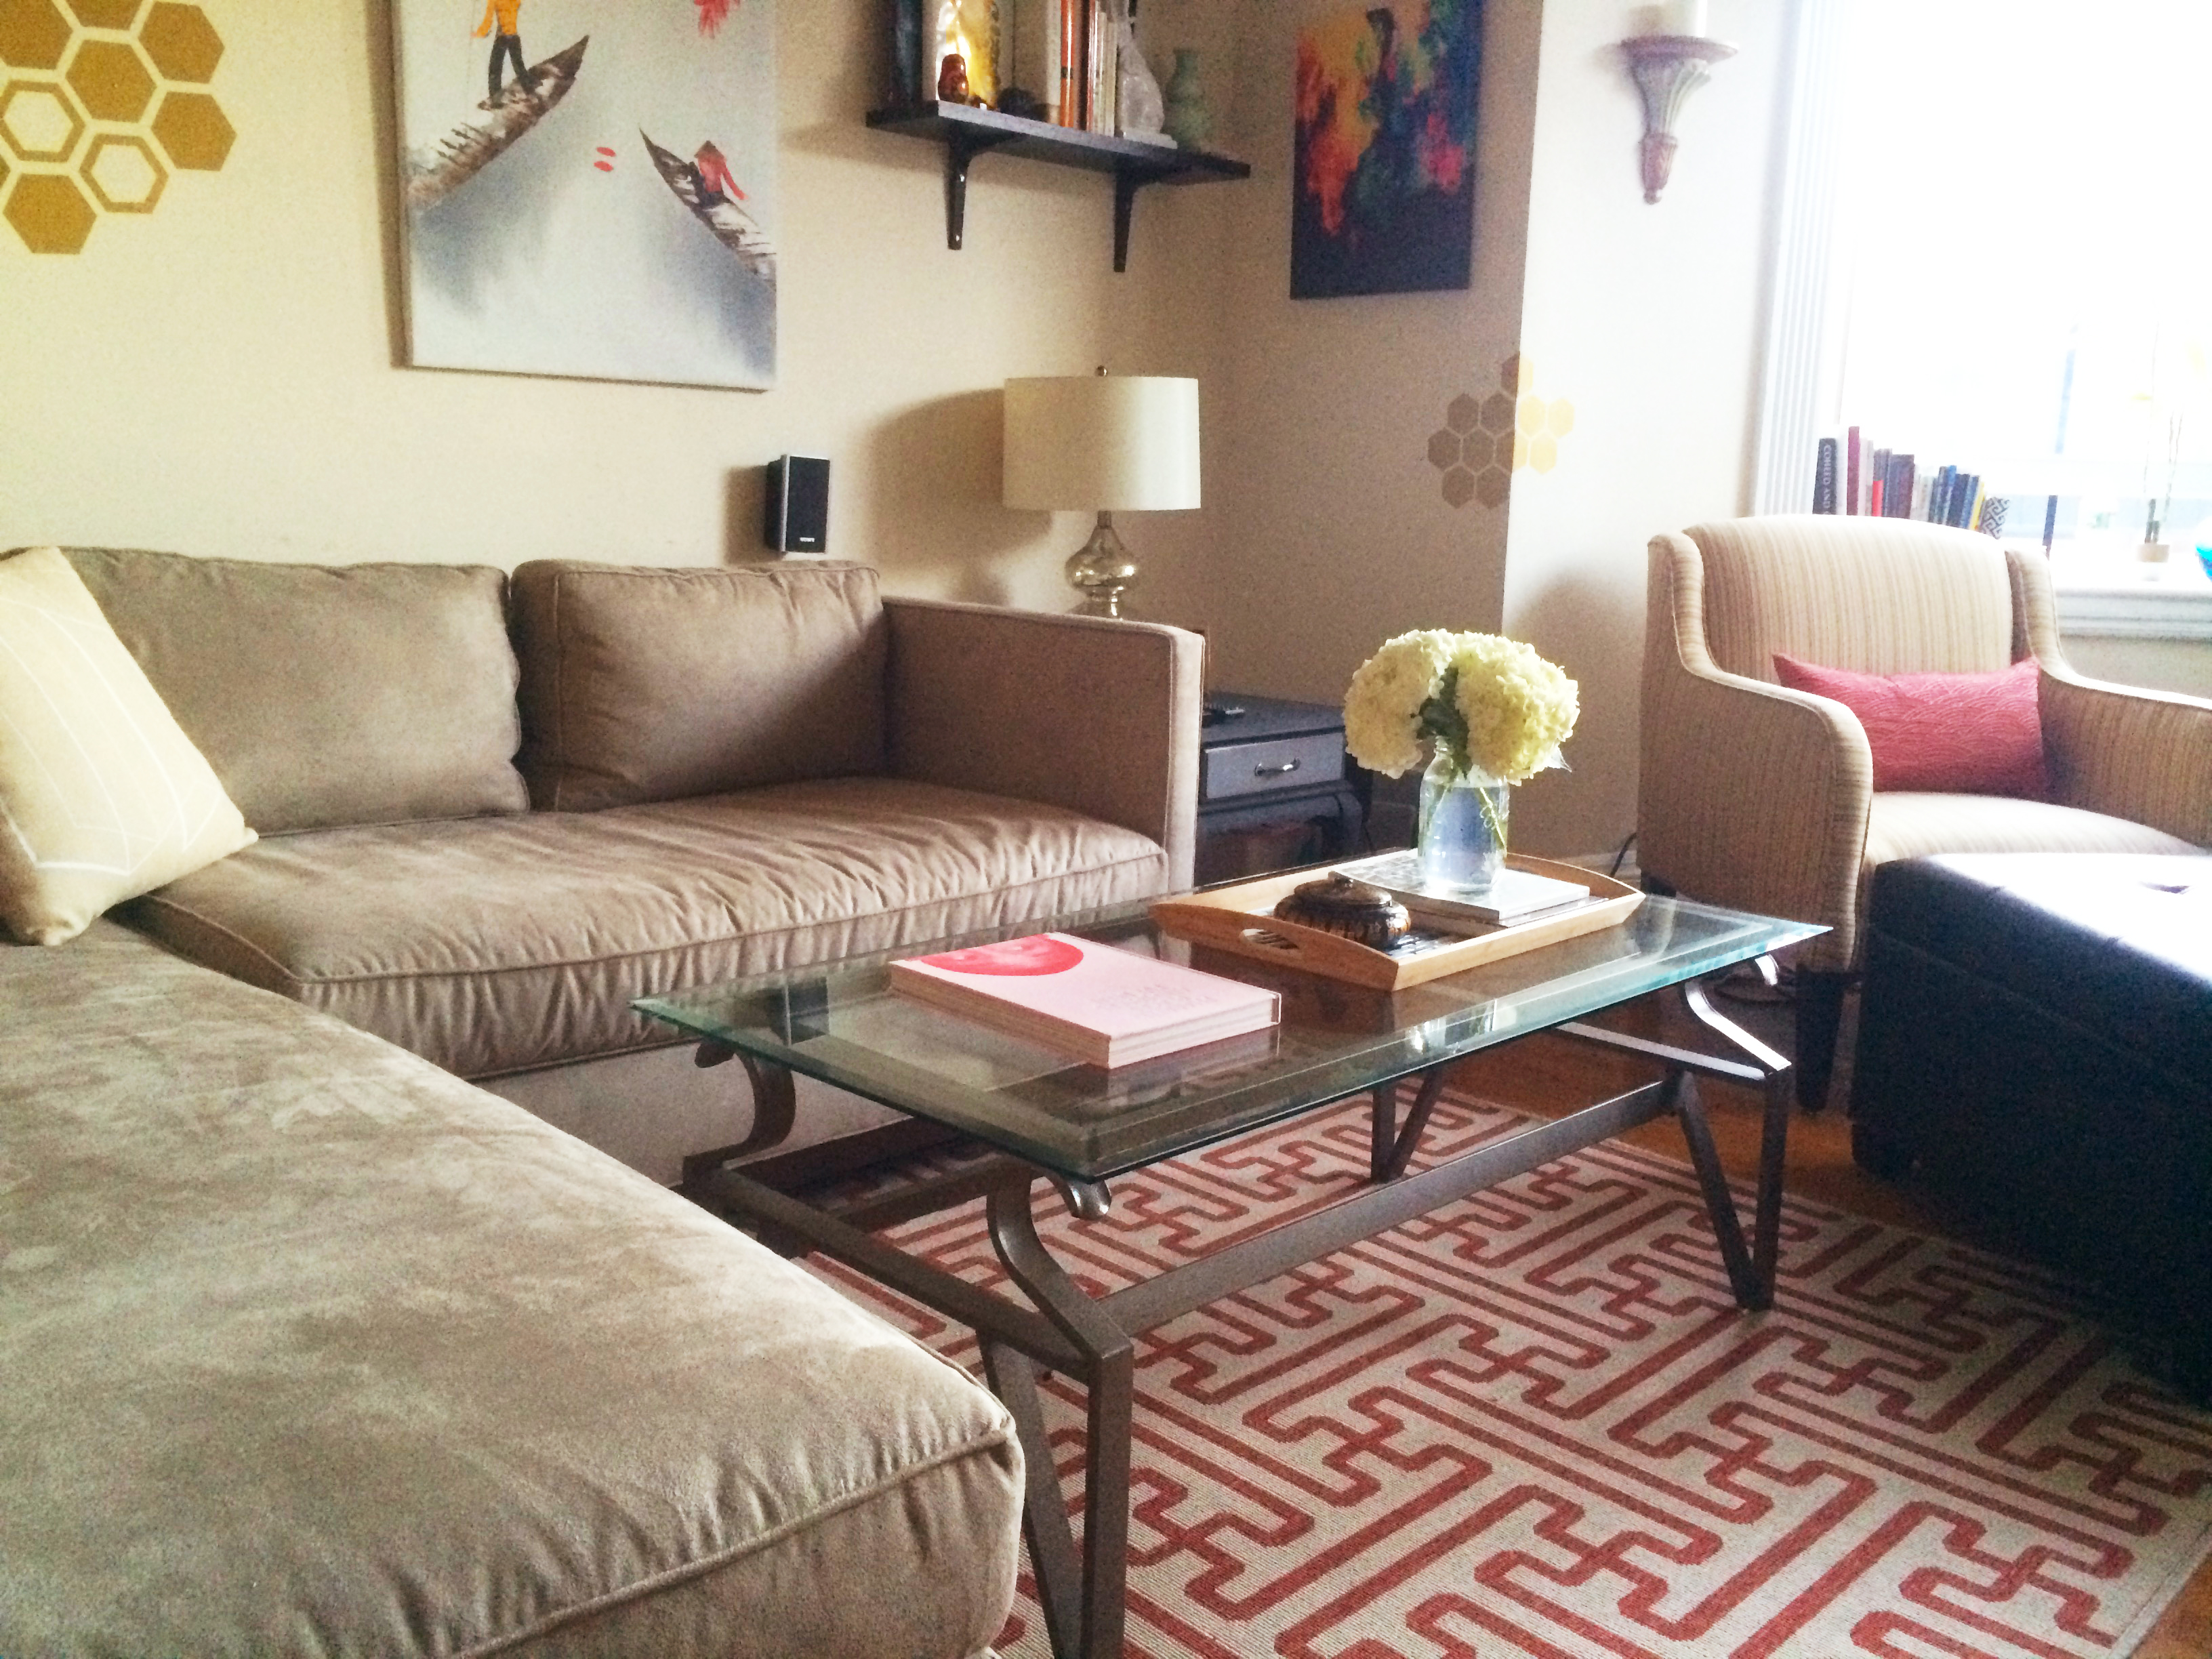
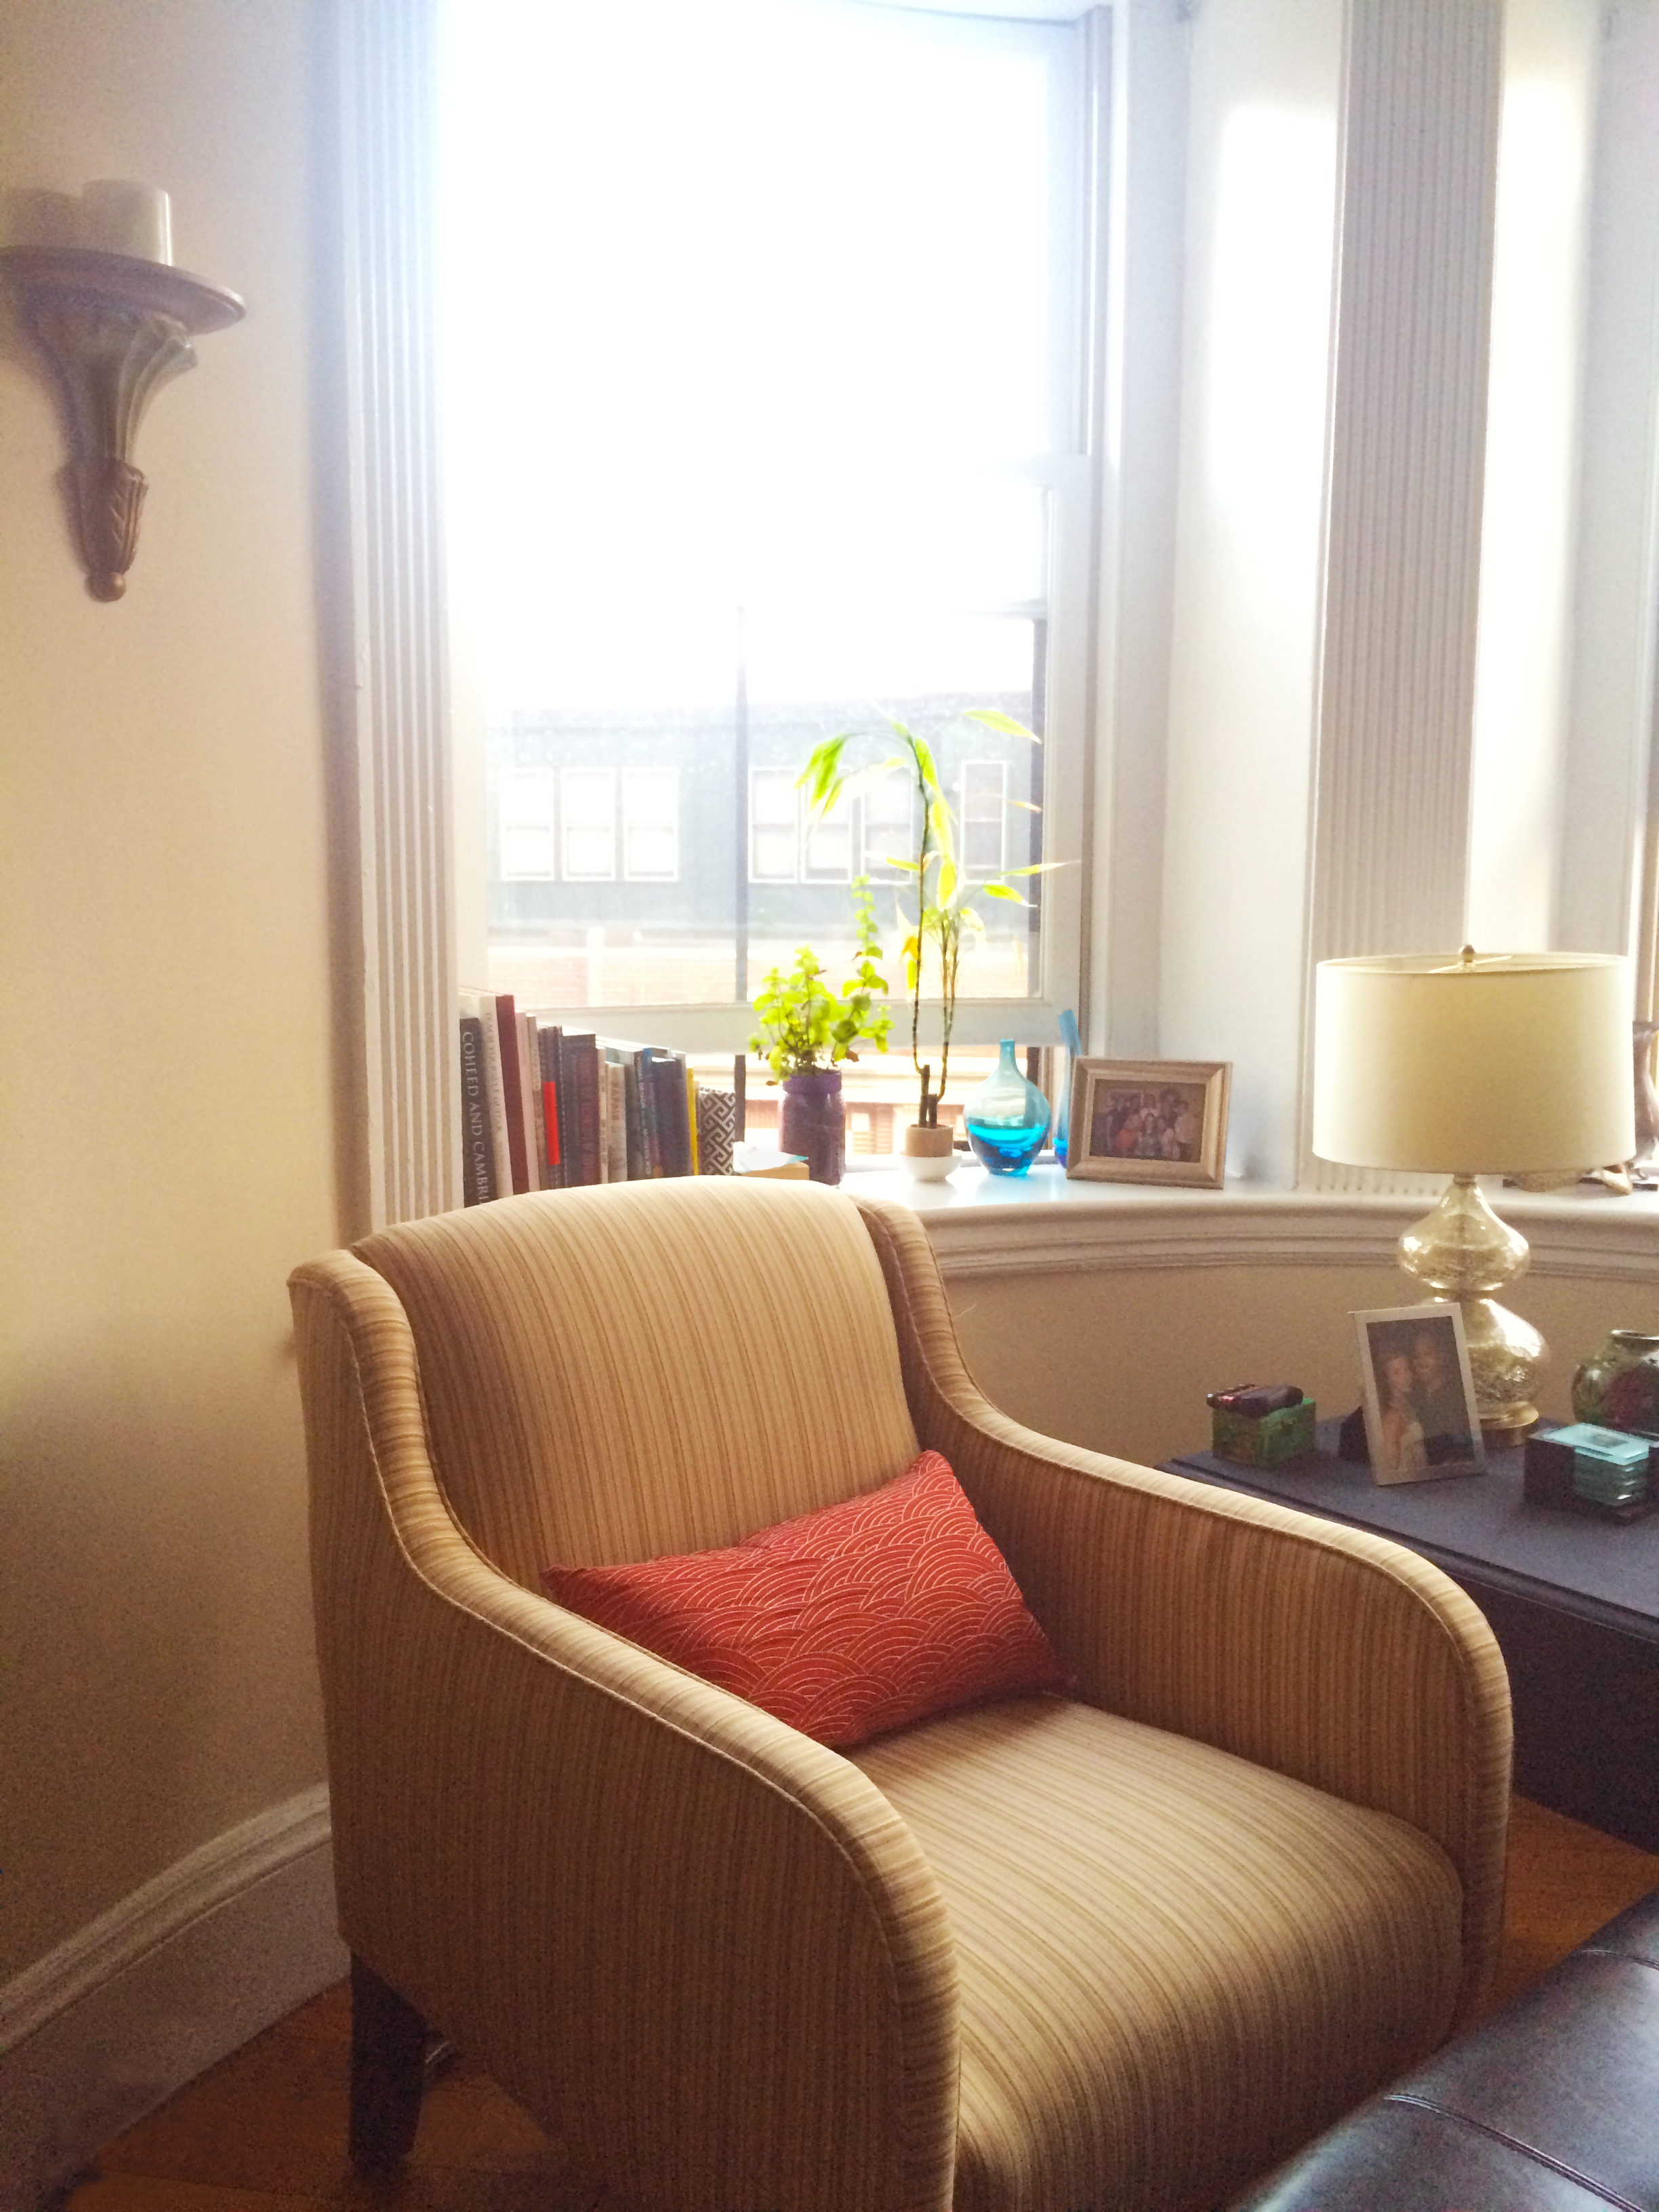
Living Room
livingroom1chairlivingroom2 shelf

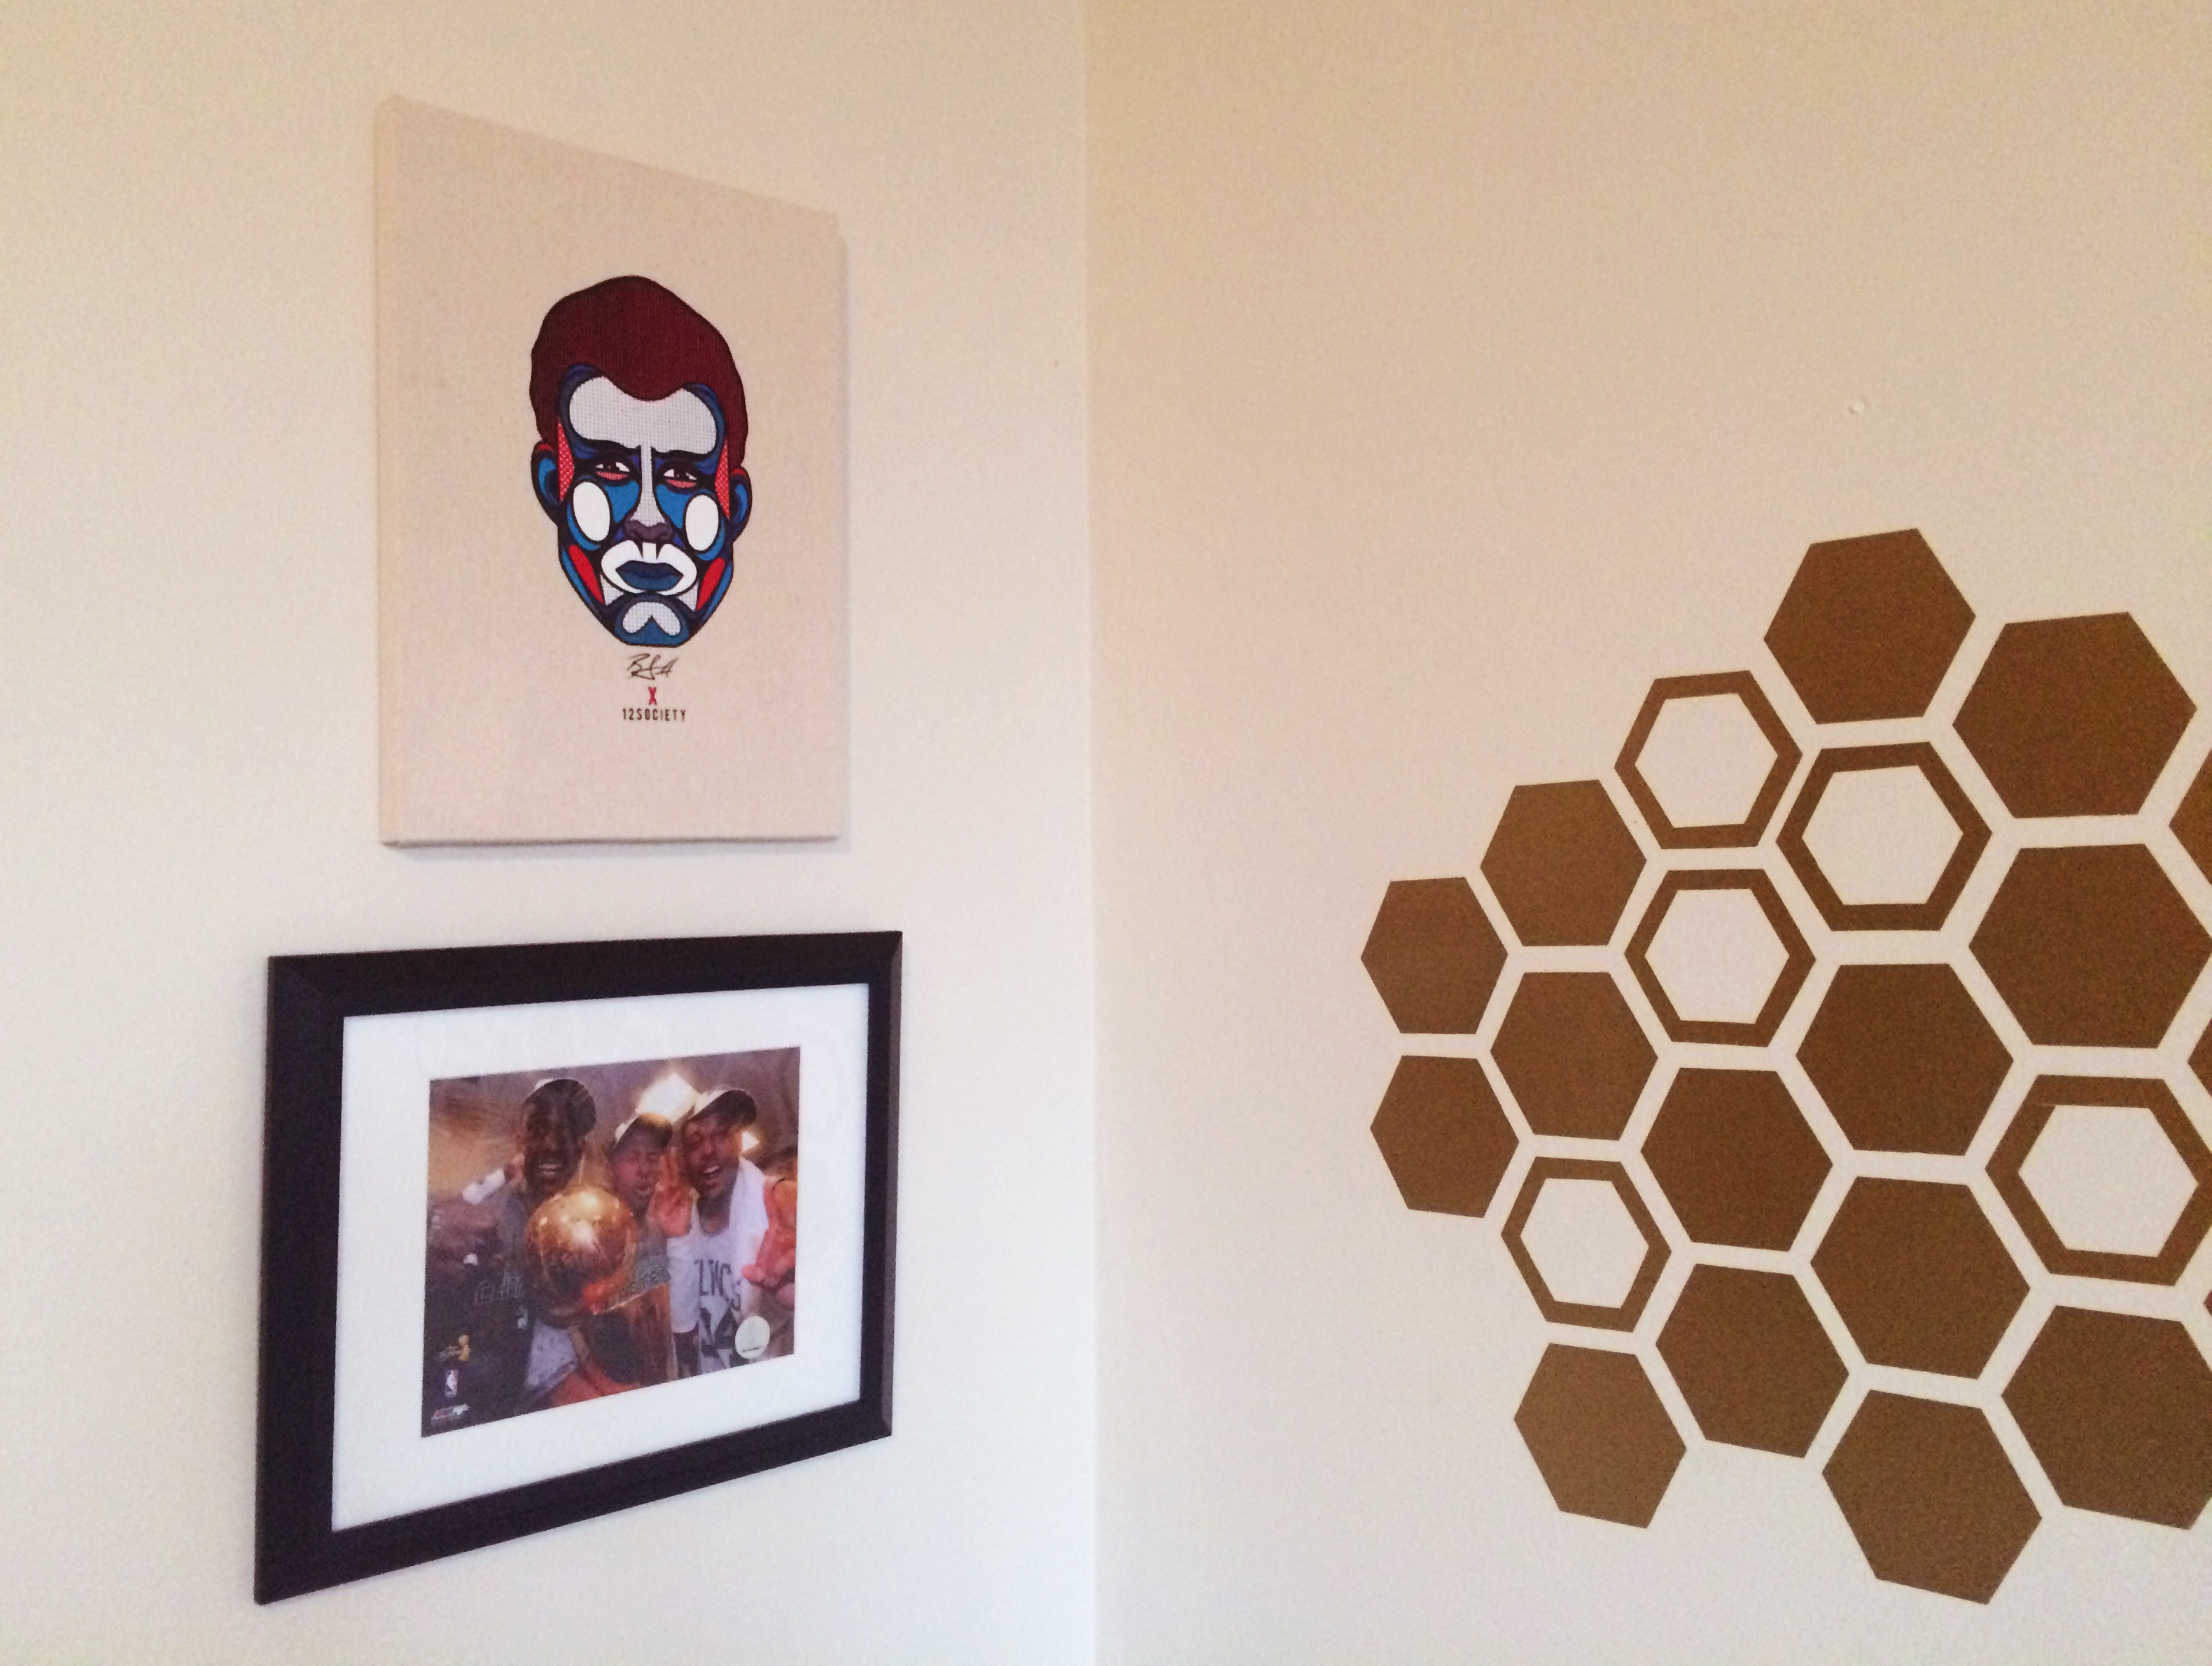
I don’t always decorate with sports memorabilia but when I do it’s to honor The Big 3
corner

Bar cart I DIY’d according to this tutorial.
bar

Kitchen table
kitchen

leaning artwork.

“If you love something, it will work. That’s the only real rule.” – Bunny Williams

I really love the way leaning artwork can make any room feel a little bit like an artist’s loft. Especially with large pieces, I think leaning a piece of art can make a room feel more approachable while still having a polished feel. Here’s a collection of examples of leaning art – placed on floors, tables and shelves – from some of my favorite design sites.

4.lonny.com
lonny.com

2.one_kings_lane_
One Kings Lane

6.homepolish
Home Polish

5.mydomaine
mydomaine.com

14.lonny.com
lonny.com

12.homepolish
Home Polish

10.homepolish
Home Polish

1.lonny.com
lonny.com

13.arch-digest
Architectural Digest

8.homepolish
Home Polish

9.homepolish
Home Polish

3.onekingslane
One Kings Lane

upcycling – an introduction to power tools.

“I believe that one can never leave home. I believe that one carries the shadows, the dreams, the fears and the dragons of home under one’s skin, at the extreme corners of one’s eyes and possibly in the gristle of the earlobe.”

― Maya Angelou, Letter to My Daughter

Two months ago I moved for the fourth time in four years. Since college I’ve lived in many apartments with many configurations of many roommates. This most recent move was significant because it is the first time I have ever lived with a boyfriend. As always, I was excited at the chance to define a new aesthetic in a new space and was intent on making sure our little apartment would embody that intangible quality of feeling, truly, like “home”. The overall experience of merging two lives into a one-bedroom apartment is something I will speak to in another post. For now I want to share another new experience this move has brought – my first venture into refinishing furniture!

My aunt lives in the home that used to belong to my grandparents. Behind her house there is a structure we all affectionately refer to as “the barn” which effectively stores all of the furniture discarded by anyone in my family for the past 40 years. Naturally, when preparing to move in with my boyfriend, I went “shopping” in the barn. I really wanted two end tables for our living room and was excited to stumble upon two of these Ethan Allen drop-leaf tables that had previously belonged to my parents and before that, to my grandparents.

image1

As you can see, they were not in great shape after years of neglect in a dusty storage space. I wanted to sand them down and repaint them in a more matte finish rather than the high-gloss stain they had worn in their first life. For reference, I found the same tables for sale and in better shape on ancientpoint.com:

image7

I had refinished another table about a month earlier and the original stain on that table had sanded off pretty easily so I wasn’t expecting the project to be especially difficult. It quickly became apparent that top sides of the tables had been sealed with a varnish. Varnish – it turns out – is basically impossible to sand down by hand. So we went to HomeDepot and bought an electric sander.

image5

The sander ended up being very easy to use and really helped on the legs and underside of the tables where there was no varnish to remove. On the varnish sides the sander certainly helped but it still took quite a while to get the stain off. In retrospect, I should have stripped the wood first and saved myself a lot of time sanding. Eventually though, I got the stain off (mostly).

image3

Around the edges of the tops of the tables there was ridged area that was too small for the electric sander. I tried for quite a while to sand it down by hand but couldn’t get through the varnish and stain. I had heard that chalk paint would cover any old stain and would give me the matte finish I was looking for. I went on Amzon and bought two jars of Americana Chalky Finish Paint in Carbon finish. The chalk paint is so opaque it only required one coat to completely cover the tables and hide any remaining stain.

I wanted give the tables a little more visual interest so I opted to paint the drawers in a dark grey wood stain. Since the rest of the tables would be matte, I didn’t want to the drawers looking too transparent. It took about 3 coats of stain to reach the desired effect since the stain is meant to let the natural wood show through. I really liked this weathered grey stain I got at Home Depot and will definitely be using it again in a future project.

image6

Finally, I changed out the hardware with something less brassy to better fit the new look and ultimately they look like this:

image4

For a novice upcycler, I think the finished product looks pretty good.